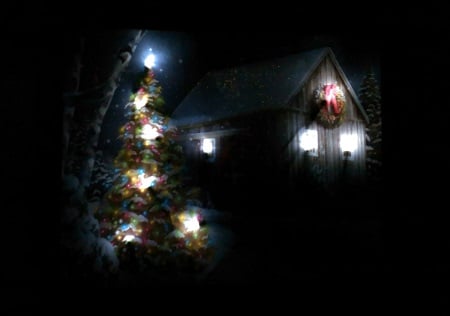
This week I have been thinking about gifts for my children's teachers, school secretaries, and more, and I came across this great idea that another mom was making with her kids and I LOVED it! And the best part? Everything to make it can be found at a dollar store!
Here's what you need:
- One holiday gift bag (look for one that has lights on the trees, or windows to light up, or snowflakes)
- One 8x10 picture frame with a pull out "stand"
- One strand of clear white or yellow LED battery operated lights
- Two AA batteries for the lights
- Tape
- Scissors
What you do:
1. Cut the front off of the gift bag.
2. Lay the backboard of the picture frame onto the gift bag and decide where you want to trim to fit it inside the frame. Cut to fit the frame (I actually cut on top of cardboard using a utility knife and traced around the backboard).
3. Set the frame aside and, using a pencil, mark the back of the bag where you'd like the lights to be placed. I held the bag up to a window with the picture facing the window to be able to decide right where I wanted the lights.
4. Tape the lights down where you want them. Thankfully the bag is slick which makes it forgiving if you decide you need to move a light or two.
5. Once you have taped down the lights, place it on top of the glass in the frame and put the backboard on, leaving the battery pack hanging out of the bottom of the frame.
6. Tape the battery pack onto the bottom of the back of the frame and you are done!


