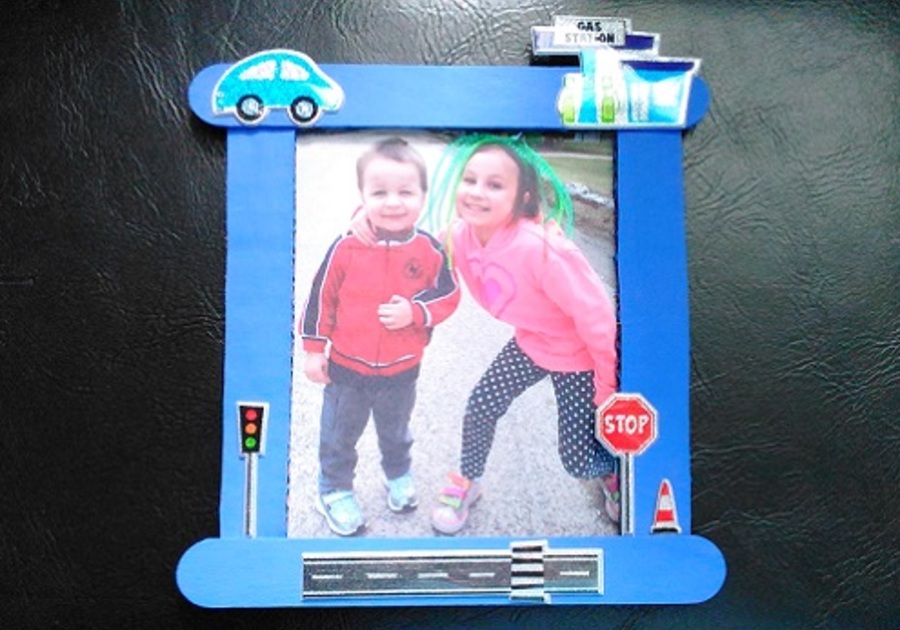
This photo frame is lots of fun to plan with the kids as they decide which favorite things to feature on the frame. We found a fun set of puffy stickers to decorate our frame. There are a wide variety of special interest stickers in the scrapbooking section of most stores, or you could even use figurines from model sets if you find something you love.
What you need:
- Wide craft sticks or other material to build a frame
- Picture of the kid(s)
- Decorations depicting Dad's favorite things
- Cardboard
- Paint
- Glue
What you do:
1. Paint the craft sticks, making sure to cover the sides and front. You may need a few coats... we needed 3 coats for complete coverage. Let dry between each coat.
2. Plan the arrangement of the craft sticks and how the picture will fit into the frame. You may need to trim the photo to get everything to fit the way you want it.
3. Cut the cardboard to the size of the picture and glue the picture onto it.
4. To build the frame, we found it was easier to glue the sides of the frame to the picture, then the top and bottom in order to get the perfect fit to the frame.
5. Use a book or other heavy object laying over the top to hold the pieces together to dry, if needed.
6. Decorate the frame with the stickers or other objects. Let any glue dry.
7. Attach anything needed to display the photo... some ideas include strong magnets, string, or a cardboard/craft stick stand, depending on where you will display it.


