I love to tie dye shirts with my family in the summer. When we go to the beach on vacation we always tie dye shirts. My younger cousins love designing their shirts and choosing what colors they want to use. Every year we try new types of designs but these 3 are always classics that everyone likes.
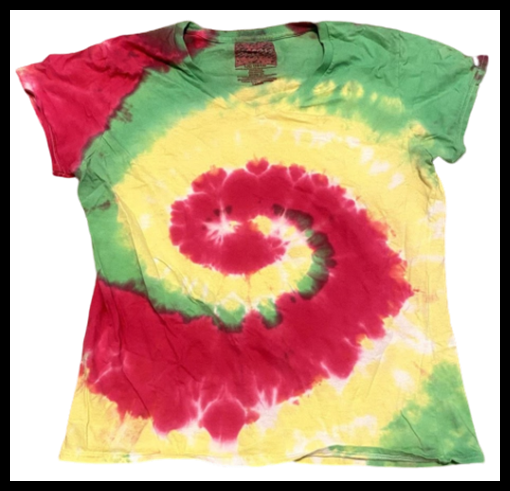
1. The Classic Spiral |
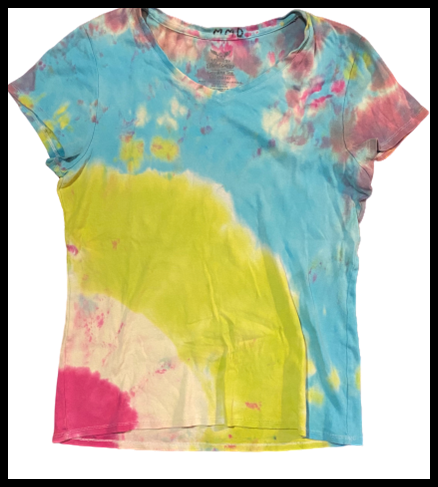
The Spiral is what most people think of when they think of tie dye. This is the most traditional style and also my personal favorite. If you look through my drawers, my shirts from the past 4 years are all spirals.
|  |
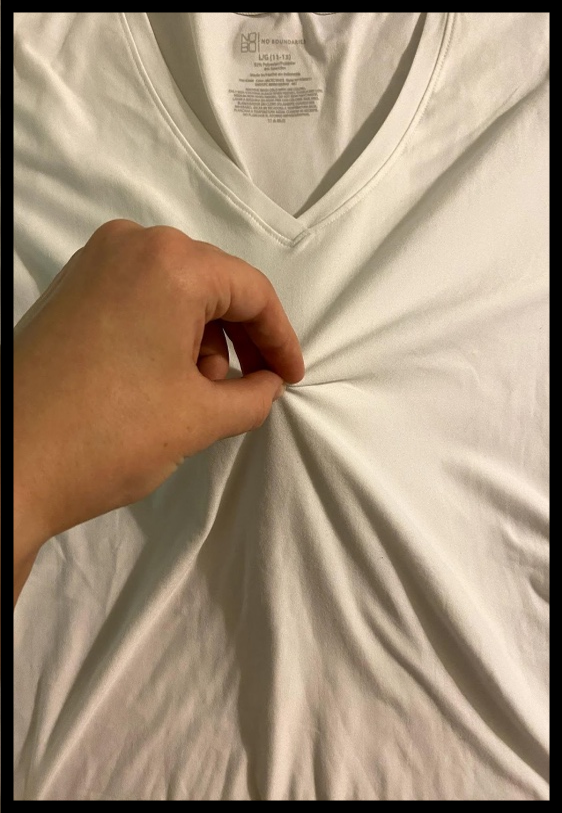
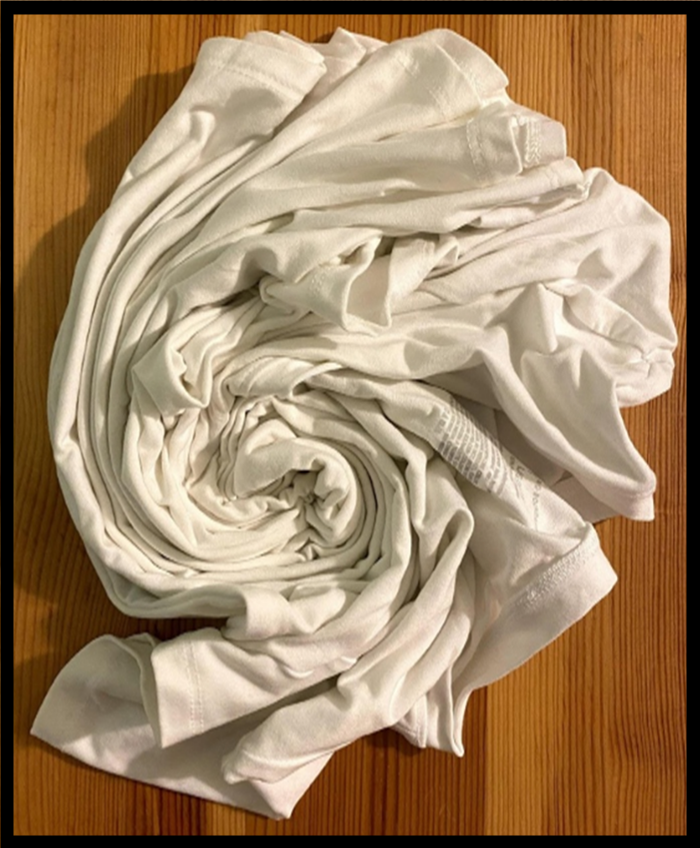 | The first step to a spiral is to lay it down and pinch the shirt in the middle. Then you twist the shirt around your fingers to form the spiral shape. Next you use two rubber bands to divide it into quadrants. When you dye it, you will fill in each quadrant with a different color (if you want to do a different amount of colors you simply change the amount of sections it is divided to).
|
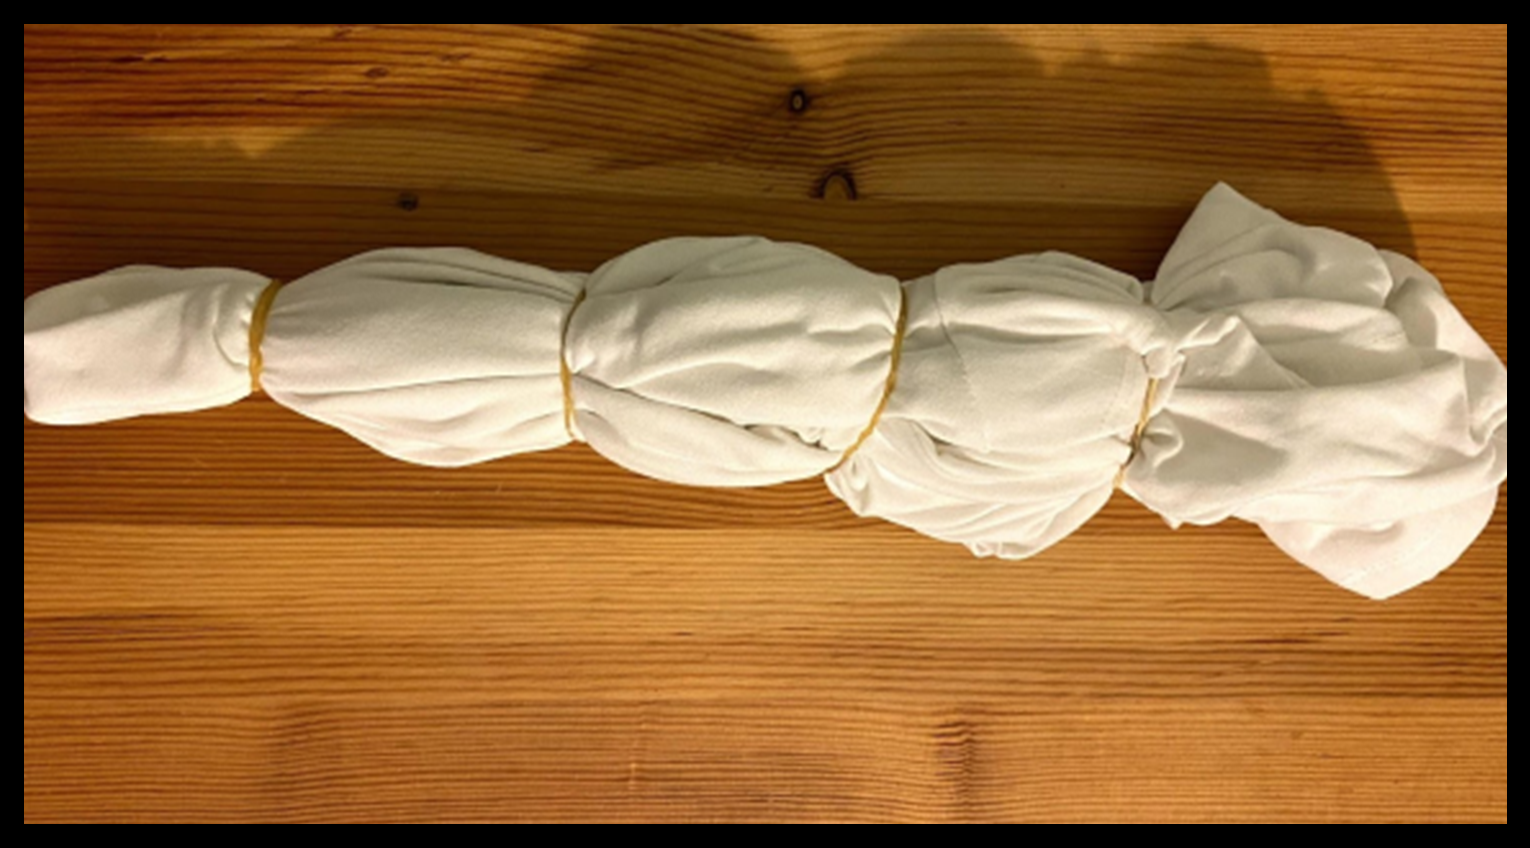
| Next you use two rubber bands to divide it into quadrants. When you dye it, you will fill in each quadrant with a different color (if you want to do a different amount of colors you simply change the amount of sections it is divided to). | 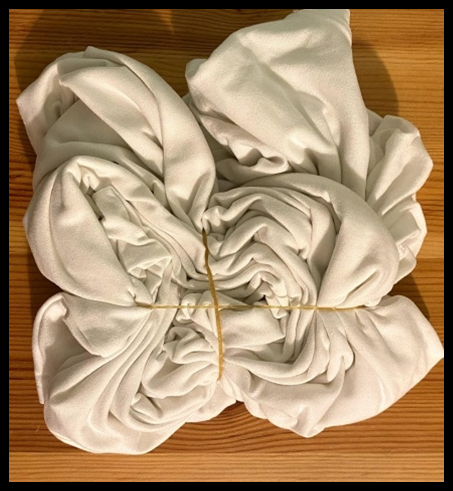 |
2. The Bull's-eye |
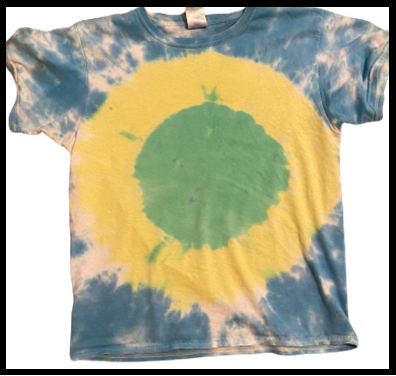 | The bull's-eye is my brother’s favorite shirt design. He likes the way the colors are contained and radiate out from a central point. I think the color combinations you can do with the bull's-eye is really interesting and fun!
|
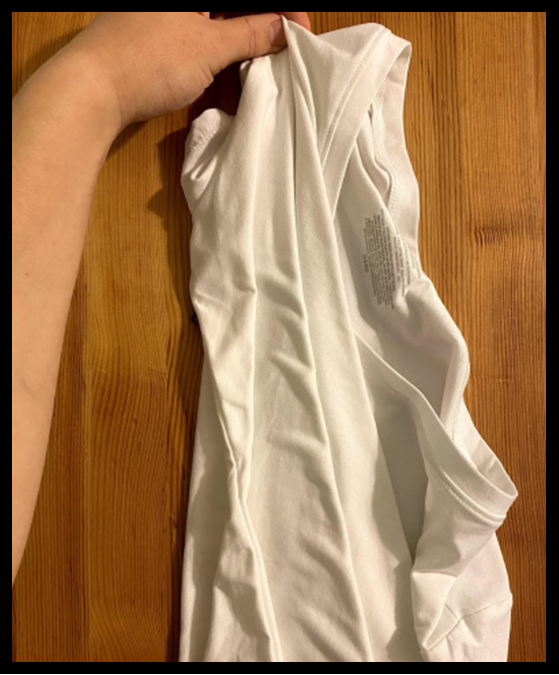
You start out the bull's-eye the same way as the spiral, pinching it in the middle. Next you lift it up and let it fall from where you pinched it.
|  |
 |
Then you section it off into pieces, using rubber bands, as many as you like. The more sections you have the more colors you can use.
|
3. The Sunrise |
The sunrise is similar to the bull's-eye in that the colors radiate out from a singular point. The sunrise is a fun and often different design that can make your shirt stand out from other, more mainstream, designs.
|  |
 |
The way you do this one is almost identical to the bull's-eye except for the beginning. Instead of pinching the fabric from the middle of the shirt you grab it from one of the corners. Then you lift it up and let it hang from where your finger are pinching it.
|
Finally you section it off, using rubber bands, in however many sections you want to have. Use one color between each rubber band for the best results. | 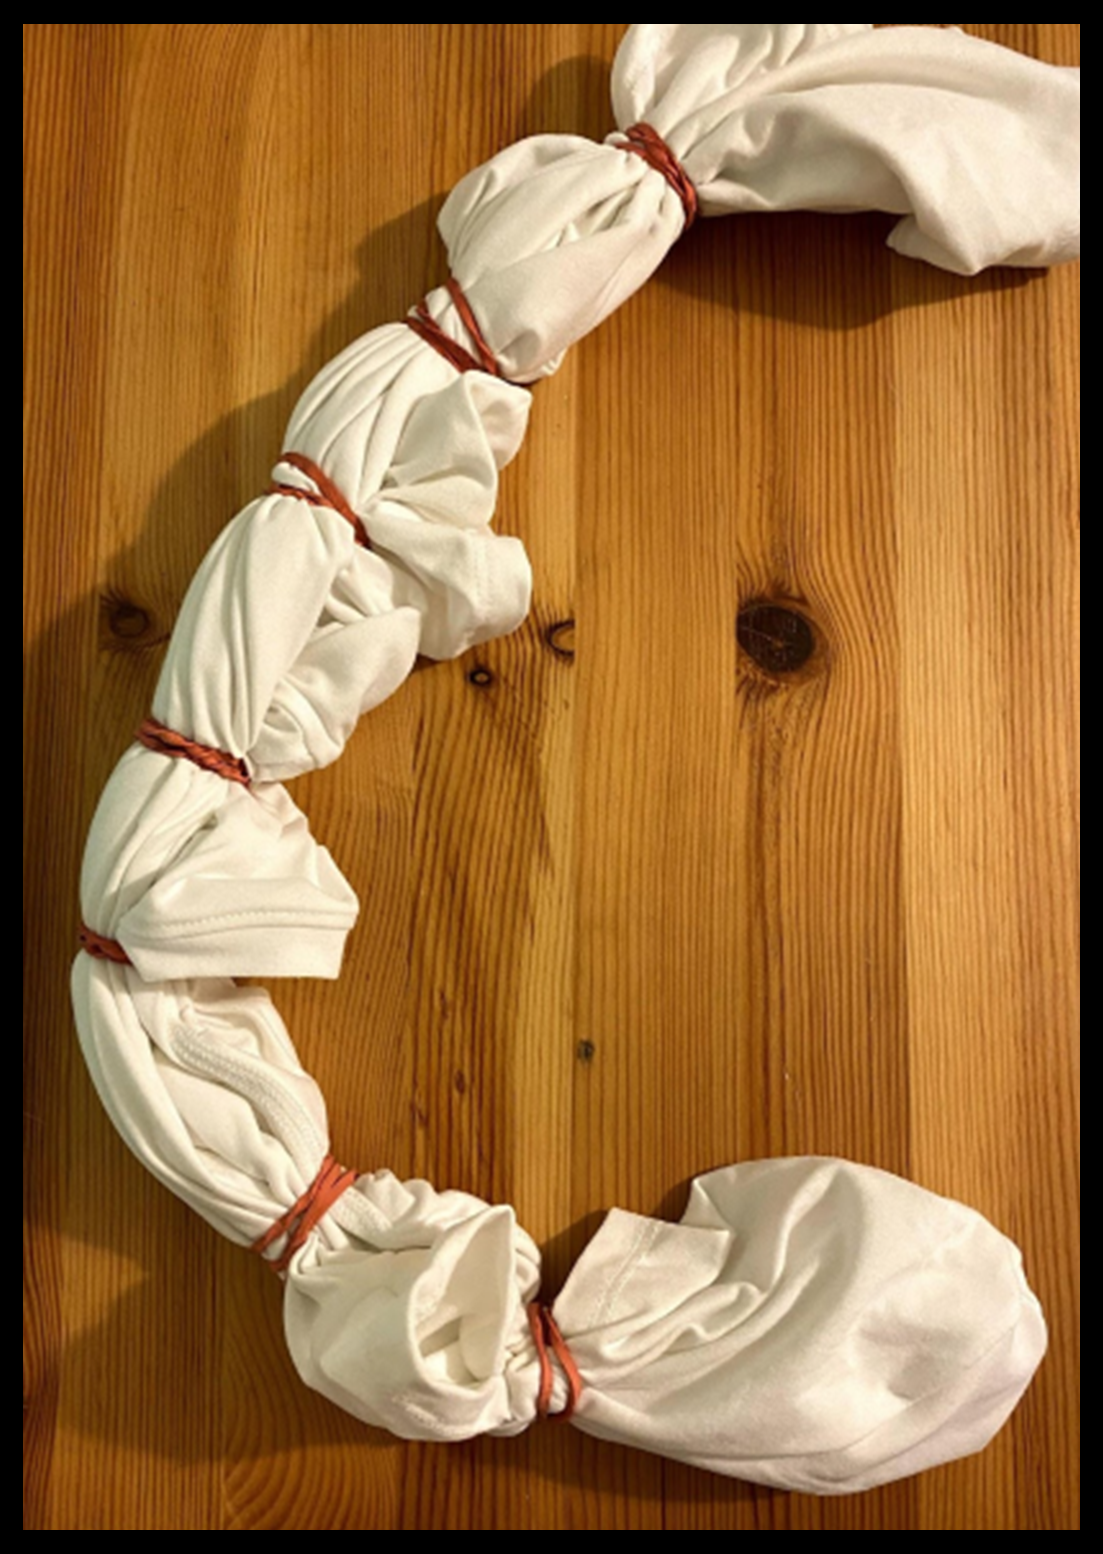 |
These are 3 of the easiest tie dye designs to do. Just remember to have fun with all of your summer tie-dye projects! The best shirts are when you have fun and are creative with the designs and colors.