Reverse Tie dye Reverse tie-dying is a fun twist on everyone’s favorite summer craft, and the best part is you have all of the necessary items at home! So gather up your bleach, a squirt bottle, some dark colored shirts and let's get started.
| 1. Set up your workstation: lay down a tarp or trash bag to ensure you don’t damage the surface and fill a squirt bottle with a half bleach, half water mixture. | 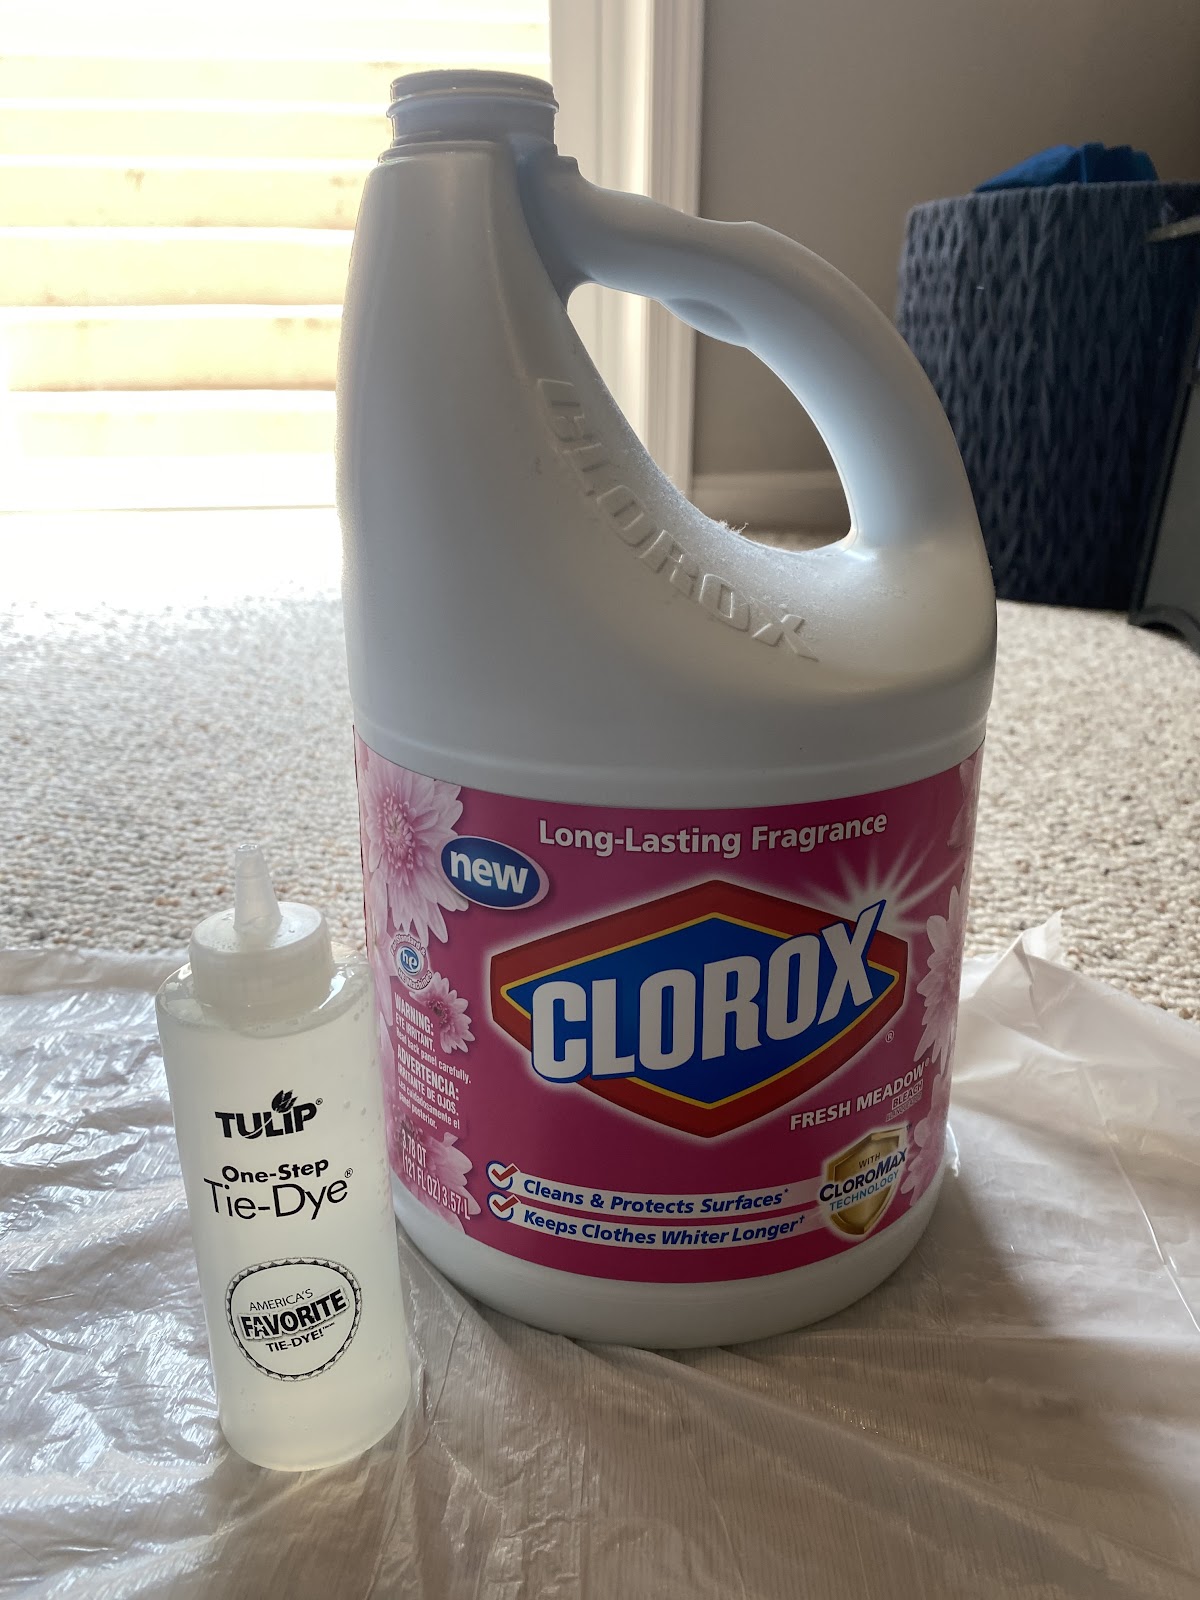 |
| 2. Fold your shirts: you can use any of the traditional tie dye patterns, but for the best results crinkle the shirt or fold into a spiral. |  |
| 3. Begin applying the bleach mixture to the shirt: the execution of this step is entirely up to you; you can follow a pattern, do random splashes, or whatever your heart desires. | 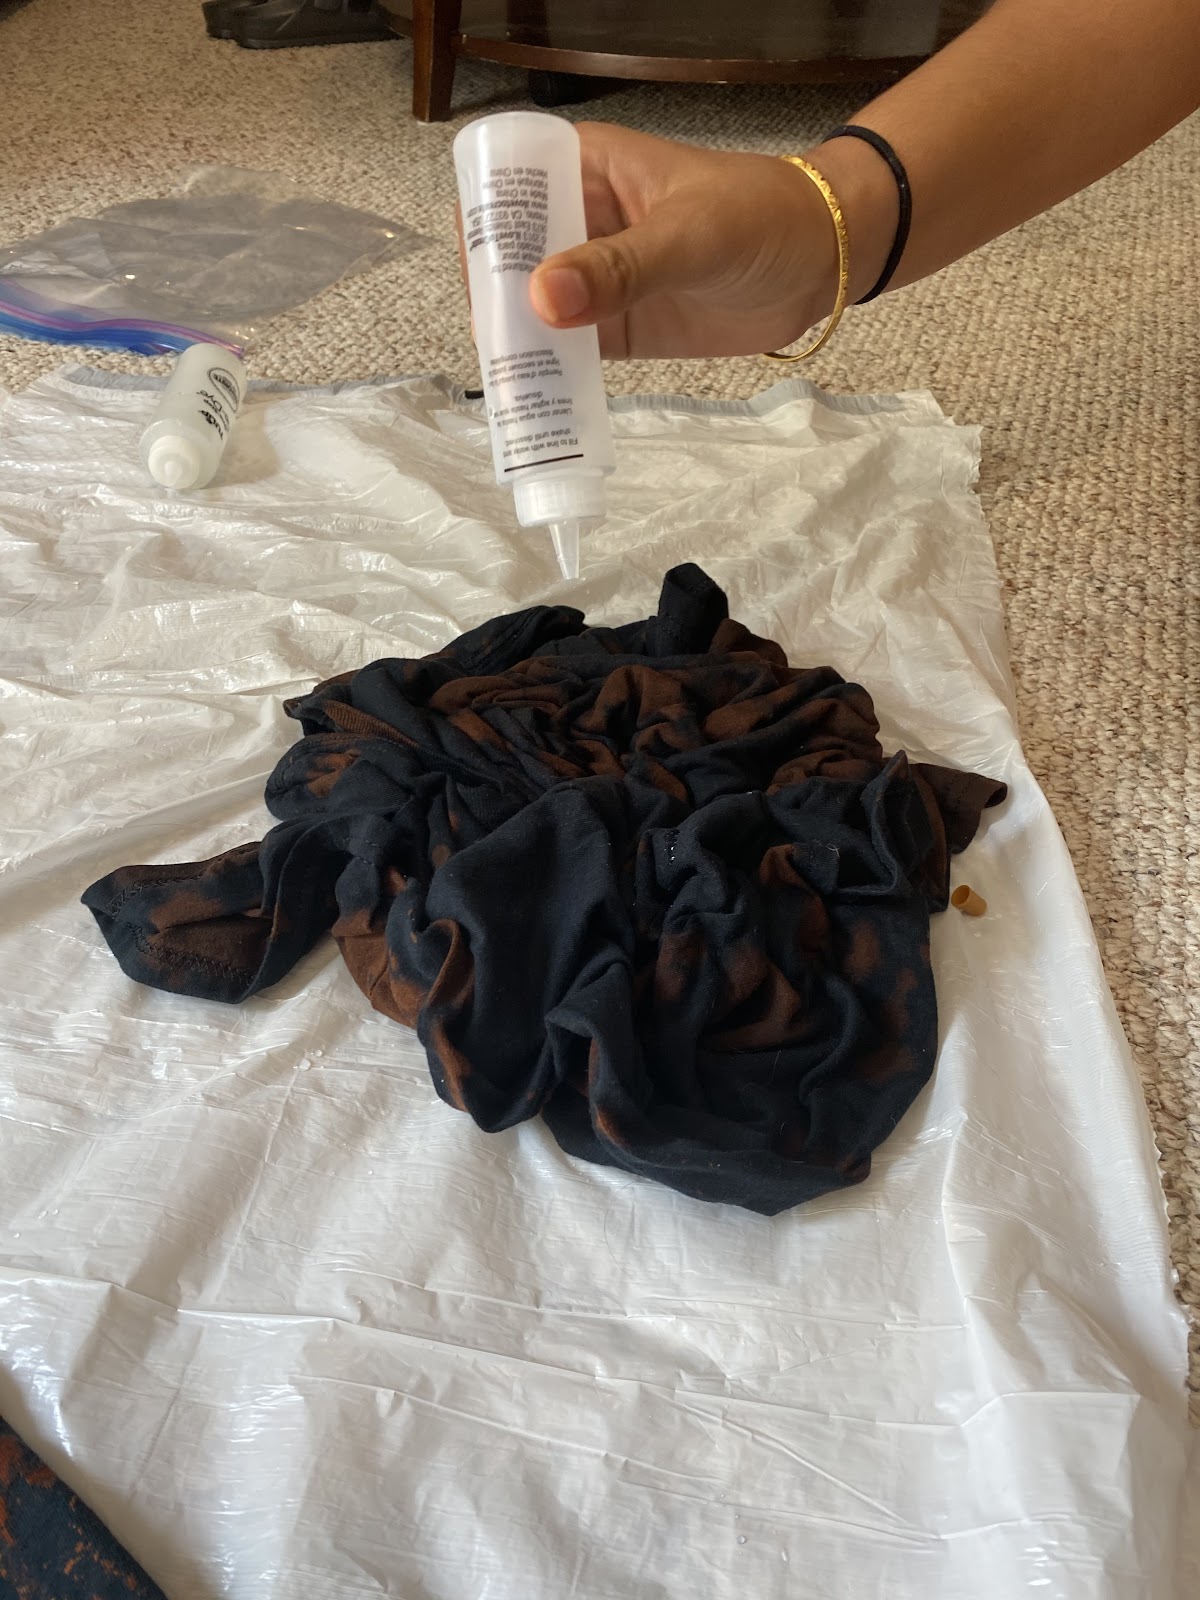 |
| 4. Rinse the shirt: once the bleach pattern is to your liking you need to rinse out the shirt. The goal is to get most of the excess bleach out of the shirt, and you’ll know you’re done once the water is no longer orange. |  |
| 5. Wash the shirt: when there is no more orange residue you want to throw your shirts in the washing machine and viola you’re done and have a fabulous new addition to your wardrobe! |  |